~*Hair-styles that can be created in less than 10 minutes; Say good-bye to bad-hair days!*~


I've been catching up on some Merlin episodes and quickly got frustrated by the lack of styles. Morgana has really let herself go man! Yeah I know she's been living out in the woods with no servants but still, she couldn't conjoure up a simple sexy braid or two?! *Umph* So after I got over my dissappointment I decided to get my fix on my own hair. This is one of the many styles I came up with that could be done in less than 10 minutes....
What You Will Need:
- Moisturizer/Oil
- Bobby Pins
- Brush for smoothing
- Clips/clamps
Optional:
- Holding/styling product (gel, pomade)
- Extension hair for braiding (Kanekalon)
Prep:
I find this style looks best will a little texture so I usually work on an old braid/twist-out that has been stretched, or I will blow-dry the hair and wear 4 big flat-twists ovenight to add a loose texture like I did here

I then use a wide tooth comb to remove any tangles and add a few drops of coconut oil for shine and moisture. Use whatever moisturizer/products you like.
1.

 After I've decided what side I want to wear my hair on and where my part should be, I begin to smooth the opposite side using a tiny bit of gel or styling pomade. I then secure the hair behind my ear with a bobby pin and begin to flat-twist the hair down across the nape and to the opposite side. Rolling, braiding or simple pushing and pinning the hair will work just as well.

Secure the hair to prevent unraveling and repeat the same step on the front/bangs down to the ear.
There should be 3 sections like so----->
***Don't worry about the twists being a little sloppy . I prefer my styles to look a like more "thrown-together" than overly sculpted.
2.

 I braided each section attaching braiding hair (optional)
**Since my hair isn't long enough for the look I'm going for I decided to use extensions. This will also make the style last a little longer.
I prefer to use Kanekalon hair because the texture blends perfectly with my blown-out hair; it is easy to work with and only costs $1.99 at my local BSS. You will only need about a quarter of the pack depending on how thick you want your braids.
Don't worry about the braids being sloppy, since we won't be leaving them hanging it doesn't matter.


Next I made a single rope twists with the braids . A rope twist is when you use 3 sections of hair instead of two and twist them by bringing the section in the front over the other two sections
So in other words bring a single strand over the other two alternating with each strand.
3.


Finally, Use as many bobby pins as needed to blend each braided section at the base and hide any gaps.
TIPS
- To help tame fly-a-ways, very lightly spritz with water or leave-in then loosely tie a satin/silk scarf around head for a few mins
- I like to use hair grease of beeswax on my finger tips while braiding to add shine and tame fly-a-ways
- Add your favourite clips, hair-combs, a headband or other accessories to make it unique
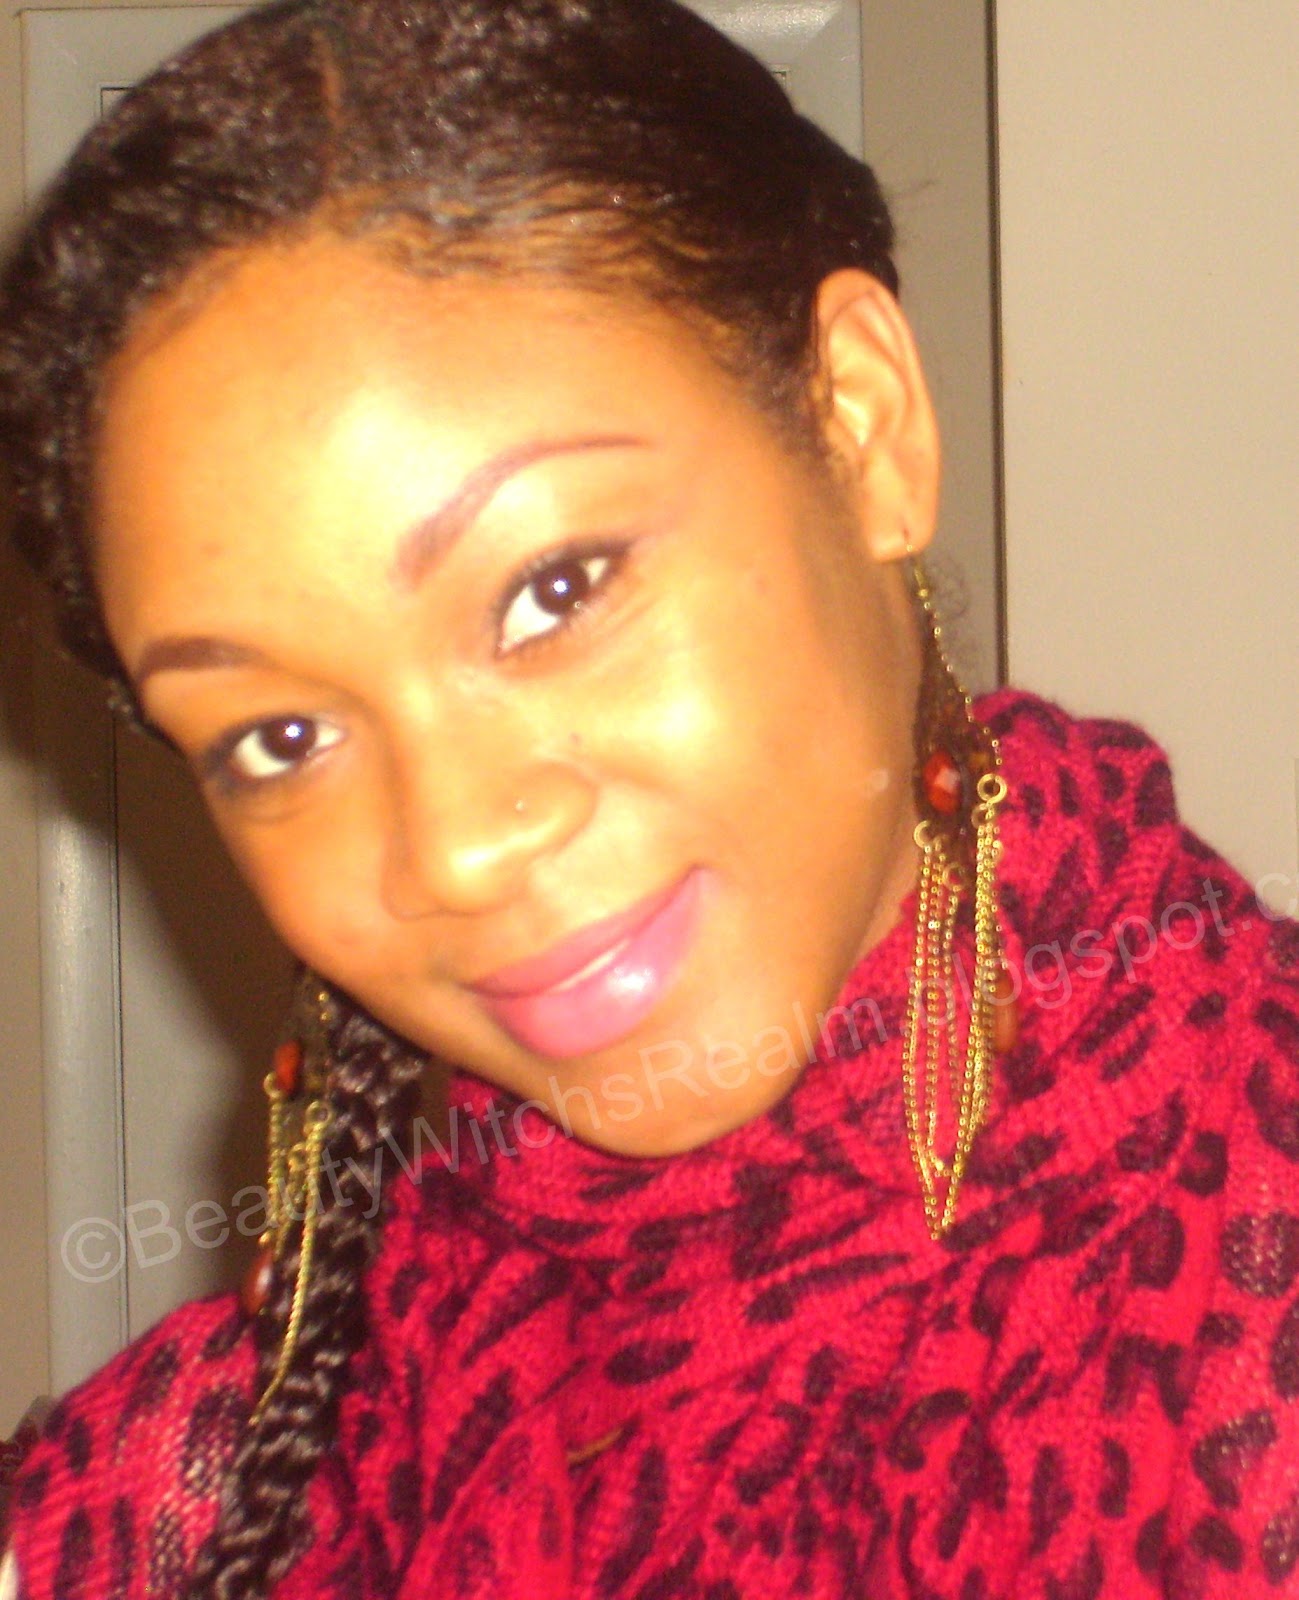
I decided to go with big bronze toned earrings with wooden accents and chains (neat find at a little Indian jewelry store for 2 bucks that I though went well with my theme!), and a bright coloured scarf


This hairstyles really cute on you :)you look beautiful x
ReplyDeletewww.beautydose-ox.blogspot.com
So pretty!! Definitely a must try!
ReplyDeleteSuch a great look! (and you are stunning by the way)
ReplyDeleteHow do you attach the braiding hair?
Thanks!
such a pretty hair style!
ReplyDeletehello
ReplyDeletenice
ReplyDelete